

How to Test Bike Light Visibility Before You Ride
- Xavier

- Aug 11
- 6 min read
A bike light can switch on, look bright in your hand and still fail the one job that matters: making you obvious to a driver approaching from behind or crossing your path. To test bike light visibility properly, you need to get out of the saddle, move into the real viewing positions and see what motorists actually see.
This matters most at dawn, dusk and in wet weather, when contrast disappears and a standard rear light can blend into a busy road scene. Be seen like you mean it - not only from directly behind, but from the sides, at distance and through the visual clutter of traffic.
Start with the road, not the product box
Manufacturer specifications are useful, but they are not a roadside visibility test. Lumens tell you how much light a unit emits. They do not tell you whether its illuminated area is large enough to catch attention, whether it can be seen from an angle, or whether your jacket, rack or saddlebag blocks it.
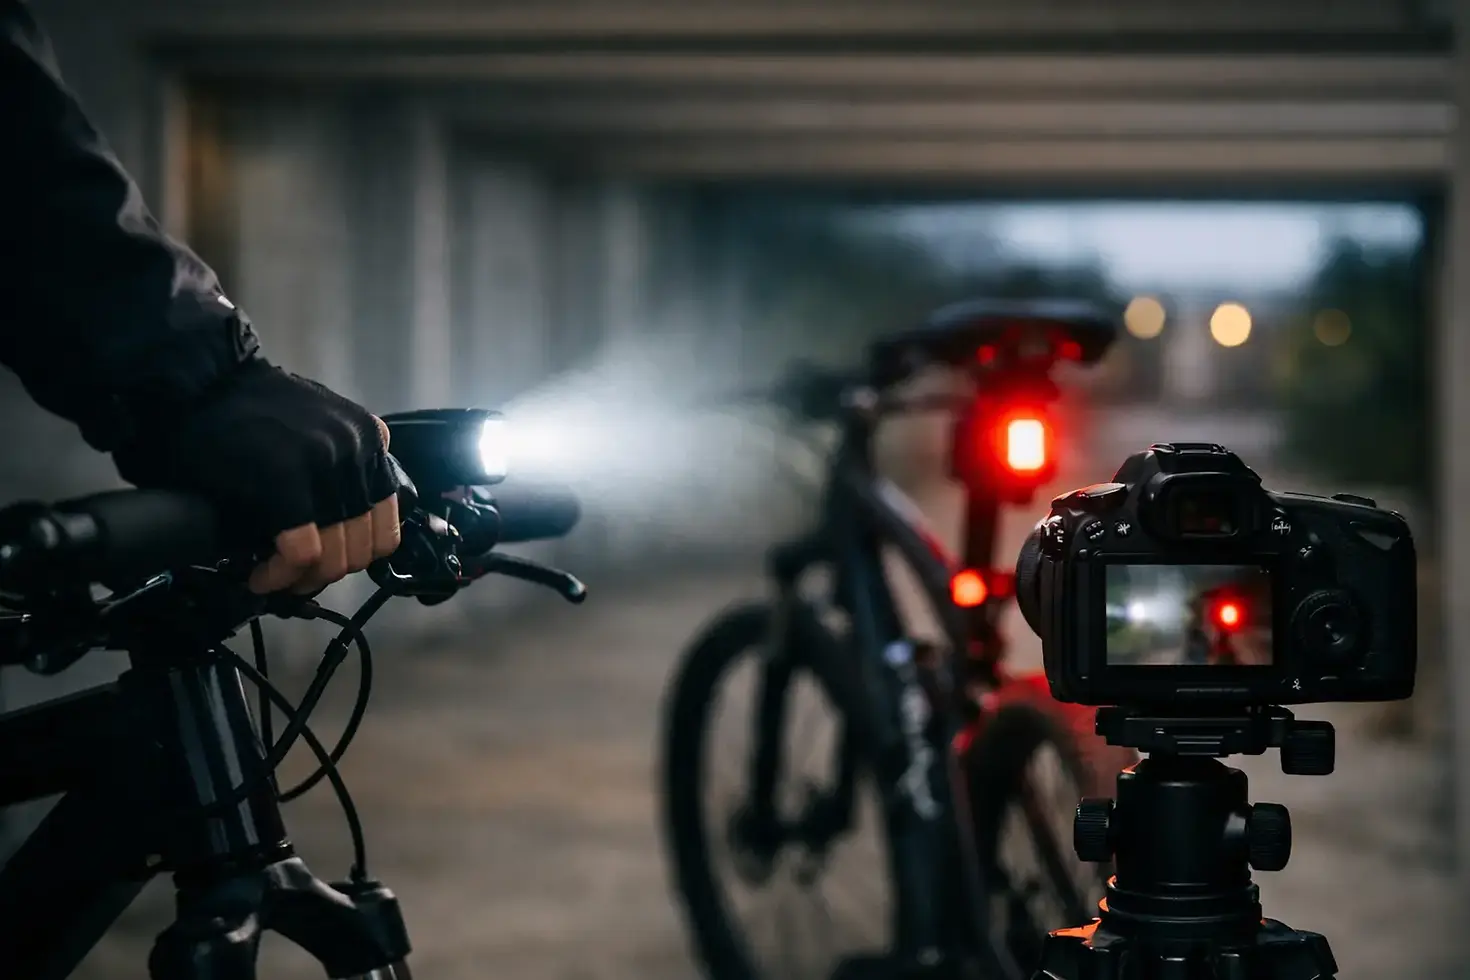
Choose a familiar route with conditions similar to your usual riding. A quiet street, shared path crossing or empty car park at dusk is ideal. You will need your bike, your usual riding kit, and a mate who can stand or walk to different positions. If you are testing solo, secure your bike upright and use your mobile to record video from several distances and angles.
Test in the conditions where you genuinely ride. A light that looks excellent on a pitch-black street may be less distinct against sunset glare, shopfronts, headlights or rain-soaked bitumen. For commuters, the difficult test is often not midnight. It is that 5:30 pm ride home when every driver is looking through a windscreen full of reflections.
Test bike light visibility from three critical angles
Rear visibility is only one part of being seen. A driver may approach from behind, pull out from a side street, turn across a bike lane or pass through an intersection beside you. Your test should cover all three.
1. Directly behind
Set your light to the mode you plan to use, then have your tester move back in stages: 25 metres, 50 metres, 100 metres and as far as the road safely allows. Ask a practical question: can they pick you out immediately, or do they have to search for the light?
A good rear light should remain clearly recognisable well before a driver reaches you. At longer distances, the aim is not for someone to identify your bike model or clothing. The aim is early detection - enough time for a driver to register a cyclist ahead and adjust their line or speed.
Check whether the beam is pointed where it should be. A light angled at the sky can look intense to a person standing near the bike but offer far less useful visibility down the road. One aimed into the ground is simply wasted. Mount it vertically and check it again once you are sitting on the bike, because bags, mudguards and your riding position can change the angle.
2. Side-on at intersections
This is where many conventional tail-lights fall short. Their small, directional lens can be bright when viewed from straight behind yet almost disappear when a vehicle is coming from the side.
Have your tester stand at 90 degrees to the bike, then move around it in a broad arc. Check from both the left and right. Can they see a meaningful illuminated surface, or only a tiny point of light? Does the light vanish as soon as they step away from its central beam?
This is not a cosmetic detail. Intersections, roundabouts, driveways and car parks create side-on conflict points. A large, wraparound light source gives approaching drivers more visual information and makes your position easier to judge. Fibre Flare UP is designed around this gap, providing a flexible 360-degree illuminated profile rather than relying on a narrow rear-facing dot.
3. At a 45-degree approach
The 45-degree angle is the reality of overtaking traffic, merging lanes and vehicles turning into your path. It is also the angle riders often forget to test.
Ask your tester to walk slowly from directly behind towards the side of the bike. Watch for dead zones, sharp brightness drop-off and obstruction from panniers, clothing or your body. Repeat with your bike loaded as it normally is. A light mounted neatly under the saddle may be hidden by a rain jacket, a rack bag or a mudguard when it counts.
Test distance in daylight, dusk and rain
The darkness test is only the beginning. Bike lights are safety equipment for low visibility, not decorations reserved for night rides.
In daylight, use a flashing mode that is attention-grabbing without becoming chaotic. Your tester should be able to spot the light against trees, parked cars and bright sky. If the flash pattern is too rapid, too faint or too narrow, it may be visible without being noticeable. There is a difference.
At dusk, assess contrast. This is when red tail-lights can compete with brake lights, signage and the glow of surrounding traffic. A larger lit area is often easier for the eye to register than a single intense point.
If it is safe to do so, test after rain or in mist. Water on a driver’s windscreen scatters light and reduces clarity. Wet roads produce reflections that make urban scenes visually busy. Your visibility gear needs to cut through that noise. It does not need to be painfully bright at close range, but it must remain distinct at the distances where drivers make decisions.
Check the mounting before every serious ride
A powerful light in the wrong place is still a weak safety setup. Give your light a firm pull before leaving. Flexible mounts are convenient, but they must be tight enough not to rotate over bumps or slide down a seatpost.
Look at your bike from behind with all your usual gear fitted. Consider saddle bags, panniers, a rack, a jacket hem, a rear guard and even a number plate-style reflector. If anything cuts across the light, reposition it. Mounting a second light on a bag or clothing can also help keep a visible signal at eye level when the bike-mounted light is obscured.
Height matters, but clear sightlines matter more. A lower light can work well if it remains unobstructed and has strong side visibility. A higher light may be better in dense traffic. The right setup depends on your bike and load, which is exactly why a real-world test beats assumptions.
Assess flash patterns with a driver’s eyes
Not every flash mode improves safety. An erratic pattern can be difficult to track, while an overly aggressive strobe may create glare for riders following close behind. Test the modes available on your light from a distance, then choose one that draws attention while preserving a clear sense of where you are.
For busy urban roads, a steady-and-pulse pattern often provides a useful balance. The steady element gives drivers a constant reference point, while the pulse adds movement that attracts attention. On dark country roads, a strong steady mode may make distance and position easier to judge. Use the mode that matches the setting, battery level and traffic conditions.
Do not overlook runtime. A light that begins the commute at full output but drops to a weak setting before you get home is not reliably visible. Recharge after longer rides and before expected wet-weather or low-light trips. A quick battery check should be as routine as checking your tyres.
A simple pass-or-fail standard
Your setup passes when a person can spot you quickly from behind, clearly identify you from both sides and keep sight of your light as they move around the bike. It should remain visible with your everyday luggage and clothing in place, and it should not shift, dip or disappear after a rough section of road.
If your light only performs from one narrow angle, do not accept that compromise. Add coverage, change the mounting position or choose a design with a larger illuminated surface. You are not trying to win a brightness contest at the kerb. You are giving other road users the earliest possible chance to see you and react.
Before the next dawn start or late ride home, take five minutes to view your bike from the road instead of the saddle. That small shift in perspective can make your presence far harder to miss.


Comments